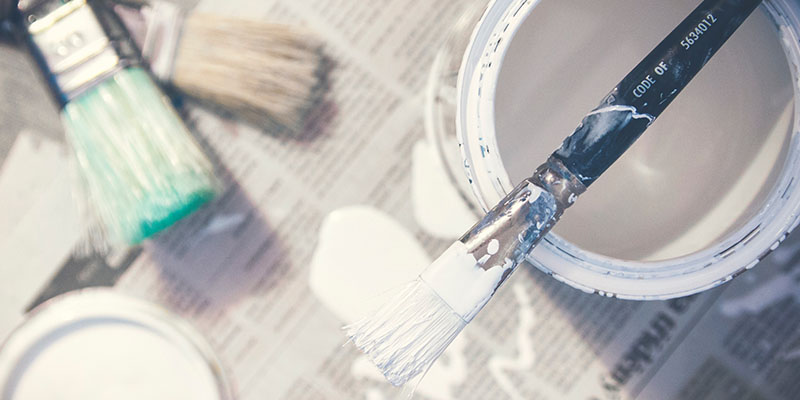
Windows can have a significant impact on the appearance of a property, both internally and externally. If you have wooden windows, then it is essential to keep them maintained and in good condition. This will not only help increase their durability and make them more weatherproof, but will also help to improve the look of your home. Here is our guide on how to paint wooden window frames effectively.
A Guide On How To Paint Wooden Window Frames
Your wooden windows are guaranteed to last a lot longer if you take the time to regularly and efficiently paint or varnish them. This protective layer shields them from exposure to harsh weather conditions and side effects such as rotting, warping or cracking. It is advised to repaint your windows every couple of years to effectively maintain and preserve their condition. Follow our step by step guide to repainting your wooden window frames successfully.

Cleaning and Preparing the Frames
To prepare the frames for a fresh coat of paint, it’s essential to eliminate any debris, dirt, dust, and existing paint. Begin by using a gentle cleaning tool to thoroughly clear away any visible particles. For the corners and intricate areas of the frames, you can use an unused toothbrush. Additionally, inspect the timber for any gaps or splits, and if you find any, make sure to cleanse them thoroughly with your cleaning tool, followed by the application of wood filler to fill in any imperfections.
Next, use a sander to remove all of the original paint, revealing the bare woodwork beneath. This step is crucial for creating a smooth surface for the paint to stick to. Whether you’re using a manual or powered sander, make sure that you diligently sand the whole frame, ensuring the removal of all remnants of prior paintwork. Always maintain the sanding direction in alignment with the wood grain, being cautious not to damage the glass, as any scratches will be permanent.
Applying the Primer
After sanding the frame down to its bare timber state, the next step involves the application of an undercoat. This step is vital to achieving an even coverage, as it gives something for the paint to grip onto. The choice of undercoat may depend on the specific type of timber that your window frames are made of. If your frames are crafted from hardwood, they may contain an elevated amount of oil, which can pose challenges when applying the initial paint coat, so it’s advisable to select a high-quality undercoat.
Undercoats come in various different colours, and it’s crucial to pick one that aligns with the eventual top coat colour you intend to use. If you intend to paint the frames in a lighter shade, opt for a white undercoat, but if you’re going for a darker hue, select a primer with a grey base. Once the undercoat has fully dried, use a dry brush to eliminate any residual dust or particles.
Applying the Paint
After the undercoat has fully set, you’re ready to start with the initial paint application. To prevent paint from getting onto the glass, it’s wise to fix masking tape along the window edges. This technique not only protects the glass but also facilitates precise paintwork. Additionally, consider transferring a portion of the paint into a smaller, more manageable container, rather than repeatedly dipping into the main paint pot. Before you start painting, we recommend removing the window handles, catches, and hinges to prevent unwanted paint splatter on them.
With these preparations completed, you can begin the painting process! Expand the windows to their maximum width, allowing you to paint the recesses before moving on to the frame itself. Begin with the horizontal sections, commencing at the top and progressing downward. After this, you can address the vertical elements. Maintaining a consistent approach is crucial to achieving uniform paintwork.
To prevent the paint from running, be careful not to overload the paintbrush. Applying two thin coats of paint is preferable to a single, excessively thick layer. Remember, you can always apply an additional coat if needed, but removing excess paint can be challenging. To further prevent the colour from running or uneven paint thickness, carefully smooth out the overlaps between the brush strokes. Once the first coat as sufficiently dried, you can apply a second coat if necessary.
Choosing the Correct Paint
The lifespan of the paint you have applied will partly depend on its quality and the stress it is exposed to. Choosing top quality paint will significantly reduce the time it takes for your window to deteriorate. Opting for an oil-based enamel is an ideal option for timber window frames, providing a durable finish and preventing the windows from sticking. However, oil-based paints tend to yellow over time and are prone to mildew. Water-based enamel paint, on the other hand, dries much quicker, is environmentally friendly and adheres more specifically to the surface of the frame.
You also need to consider the paint brush you use. Smaller paintbrushes are ideal for achieving more precise brushstrokes and a neater finish. You need to make sure the brush is good quality, has a flat edge and is one that won’t drop bristles.
Summary
If you have followed our guide meticulously then hopefully you have found it simple enough to successfully revamp your existing windows, providing them with a new lease of life. Nevertheless, if you think that your windows are beyond repair, or you are fed up of repainting your timber frames every other year, then why not look into installing new windows in Milton Keynes. You could also consider replacing your wooden windows with an alternative and easy to maintain material, such as aluminium or uPVC. If you need further advice on replacement windows, then get in touch with our team today.

